リッチボタンブロックの解説をします。
リッチボタンブロックの追加
左上の「+」ボタンをクリックします。
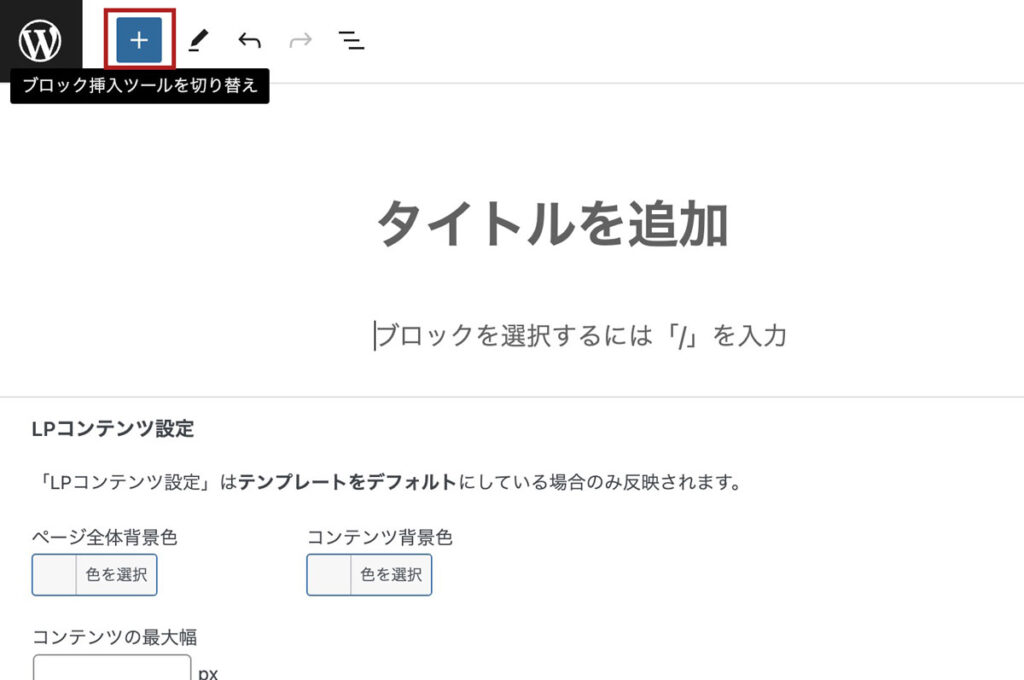
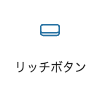
「リッチボタン」をクリックします。
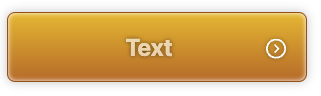
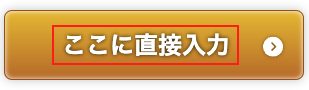
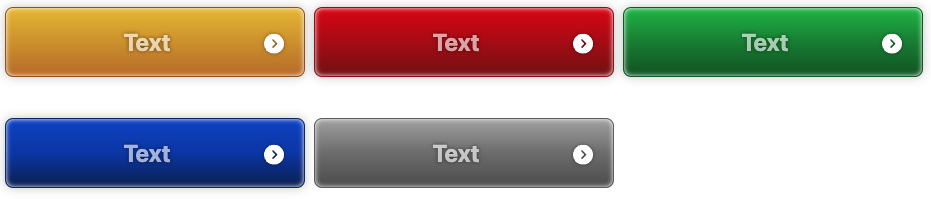
以下のようなボタンが表示されます。デフォルトはオレンジですが、色やデザインは自由に変更できます。
リッチボタンブロックの設定を表示する
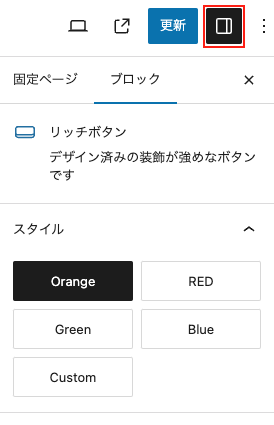
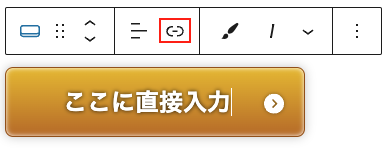
右サイドバーにボタンブロックの設定が表示されない場合は、赤枠の箇所をクリックすると右サイドバーにブロックの設定が表示されます。
テキストの設定
ボタンのテキストはボタン内に直接入力できます。
リンク先URLの設定
ボタンのURLは赤枠の箇所をクリックして設定できます。
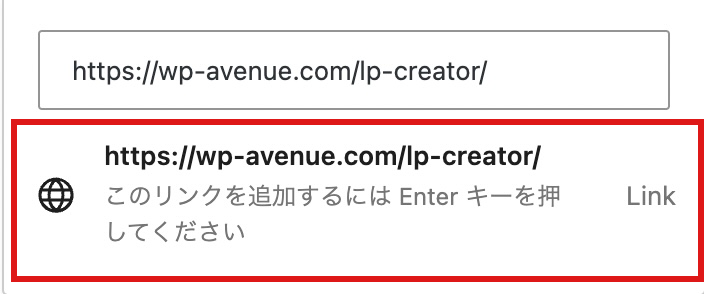
リンク先のURLを入れたら、赤枠ボタンをクリックして確定してください。
リンク先を別タブで開いて欲しい場合は、再度リンクの設定を開いて、
赤枠の箇所をクリックしてください。
「高度」をクリックして、「新しいタブで開く」にチェックを入れて保存してください。
スタイルの設定
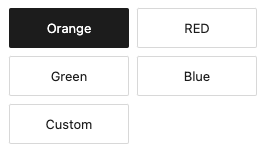
5種類のスタイルが選択できます。
スタイル「Custom」の色の設定
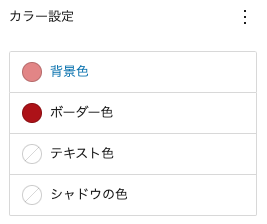
右サイドバーにある「カラー設定」で色の変更ができます。背景色は単色とグラデーションから選択できます。

カラー設定の右上にある点三つのアイコンをクリックすると、設定をリセットできます。
レイアウト設定
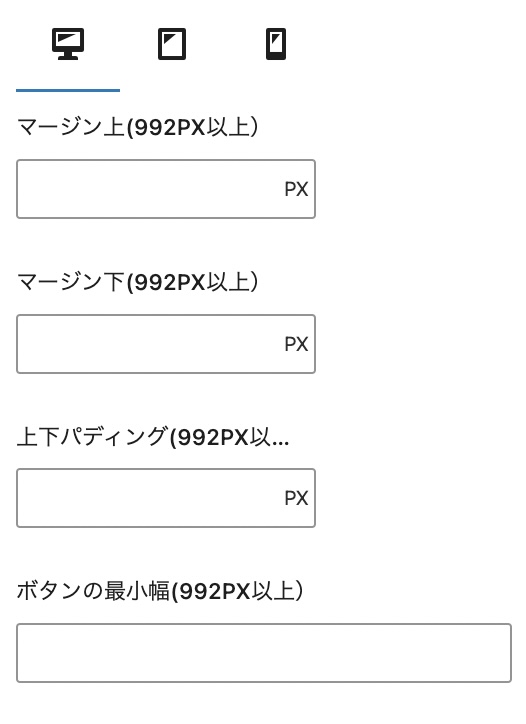
マージン上は上のブロックとの間隔、マージン下は下のブロックとの間隔です。
パディングはボタン内側の余白です。
ボタンを大きくしたい場合は、ボタンの最小幅を設定してください。
ボタンを大きくしすぎるとスマホではみ出してしまうので、タブを切り替えてスマホの幅(200px以下推奨)も設定してください。